What To Check Before Caring For Leather Shoes Through Wet Weather
A practical step-by-step guide to what to check before caring for leather shoes through wet weather, including preparation, instructions, common issues, tips, and next steps.
What To Check Before Caring For Leather Shoes Through Wet Weather
Before stepping out into wet weather with leather shoes, a few minutes of focused preparation can make the difference between shoes that survive the season and those that crack, stain, or lose their shape. This guide walks you through the essential checks—from the condition of the leather and stitching to the integrity of soles and the right protective products—so you can walk confidently in rain, slush, and puddles. You will learn what to inspect, what to apply, and what to avoid, along with practical steps for drying and aftercare. By following this checklist, you keep your leather footwear comfortable, looking sharp, and built to last through many wet days.
Fast Answer
- Check the leather for dryness, cracks, or worn spots—if the surface feels rough or shows tiny fissures, it needs conditioning before any water repellent will work well.
- Inspect seams, stitching, and soles for gaps or separation—water finds the smallest entry point, so reinforcing weak areas before rain is key to keeping your feet dry.
Before You Start
- Clean the shoes thoroughly with a soft brush or damp cloth to remove dirt and salt residue, which can trap moisture and cause staining.
- Check for and remove any embedded grit or small stones from the tread and crevices—they can press into the sole and create leaks.
- Have a suitable leather conditioner and water repellent spray or wax on hand, and confirm they are appropriate for your specific type of leather (smooth, suede, or nubuck).
- Set aside enough time to let any conditioner or repellent fully dry before you head out—rushing the process undermines the protection.
Step-by-Step Instructions
Inspect the Leather Surface for Dryness or Damage
Start by running your hand over the entire shoe, including the heel and toe areas. Feel for rough patches, flaking, or areas that look duller than the rest—these are signs the leather has lost its natural oils and is vulnerable to water damage. Look closely at the creases near the toes and around the ankle: fine lines are normal, but larger cracks or splits mean the leather is already compromised. Press gently with your thumb; if the leather feels stiff or doesn't spring back quickly, it is dry. Dry leather absorbs water rapidly and is prone to staining and cracking. Checking the surface first ensures you don't apply repellent over dirt or old conditioner, which would trap moisture. If you find any damage, decide if it's worth repairing or if you need to condition first. This step is your foundation—everything else depends on starting with leather that is as supple and clean as possible.
Examine Seams, Stitching, and Mended Areas
Turn each shoe over and inspect the welt and the stitching where the upper meets the sole. Look for loose threads, visible gaps, or areas where the stitching has pulled away from the leather. Also check any patched or repaired spots—they are often the weakest points. Gently tug on the edges of the sole to see if there's any flexing that suggests separation. Water takes the path of least resistance, and seams are prime entry points. Even if the rest of the shoe looks fine, a single loose stitch can let in enough moisture to soak your sock and cause the leather to rot over time. Use a bright light and a magnifying glass if you need to see fine details. If you find loose stitching, take extra care later with repellent, and consider re-stitching if you're handy—but for now, just knowing the risk helps you plan. A seam check is a quick, non-negotiable step before wet weather.
Assess the Soles and Heels for Wear
Place the shoe on a flat table and look at it from behind to see if the heel is worn unevenly. Then flip it over and examine the tread: are the grooves still deep enough? Look for smooth patches, cracks, or pieces of rubber that are peeling away. Worn soles reduce traction on wet surfaces, making slips more likely—a safety issue as well as a water-entry point. Use your thumbnail to press into the sole material; if it feels hard or brittle, it may not grip well in rain. Also check the area where the sole meets the upper for any gaps. If the sole is excessively worn, water can seep through the bottom or the edges. Even if you don't replace the soles, being aware of their condition tells you how much protection you have. A quick test: place the shoe on a damp paper towel and see if any water seeps through from the inside—if you have a severe wear, it will. This step ensures your shoes won't be a slipping hazard.
Confirm the Insoles and Linings Are Intact
Look inside the shoe—remove the insole if you can—and check for tears, peeling, or worn areas, especially around the heel and ball of the foot. If the lining is damaged, water can accumulate inside even if the outer leather is fine. Also feel along the edges of the insole for any metal tacks or rough edges that could poke through and compromise the shoe's structure. A torn insole also allows moisture to sit against your sock, which is uncomfortable and can cause odor. Check the heel counter (the stiff part at the back) to make sure it hasn't collapsed—this provides crucial support when walking. If the lining is damp, that's a sign of a previous leak. This internal check is often forgotten, but it's vital because even a small tear in the lining lets water in and makes the shoe harder to dry. Ensure the inside is dry and clean before you apply any treatment that's meant for the outside.
Choose and Apply the Right Water Repellent
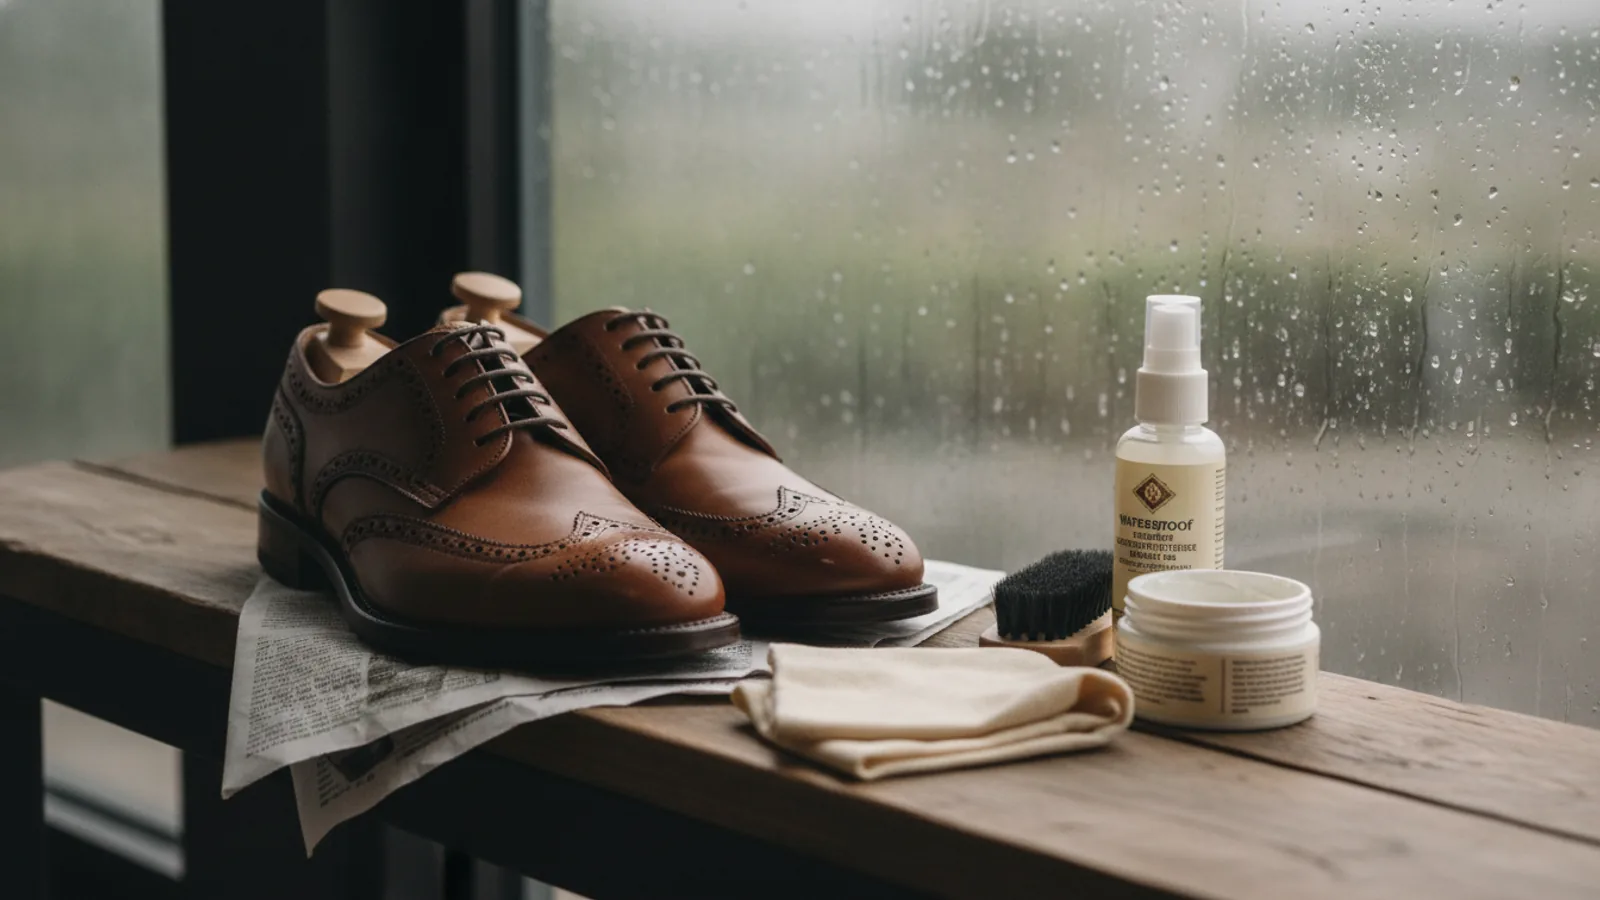
Select a repellent that matches your leather type: a spray for suede or nubuck, a wax or cream for smooth leather. Check the label to ensure it's suitable for wet weather, not just for polishing. Apply the repellent evenly, following the manufacturer's instructions—typically in a well-ventilated area, using a cloth or brush to spread it. Concentrate on seams, creases, and the tongue area where water often enters. Pay attention to the area where the upper meets the sole. Let the first coat dry completely, then apply a second coat for extra protection. The repellent works by making the surface hydrophobic—water beads up and rolls off rather than soaking in. If you use a wax, buff it to a shine, which also helps shed water. Be generous but not excessive—over-saturation can clog the leather's pores and impair breathability. This step is the ultimate safeguard, but it only works if the leather was clean and dry beforehand.
Do a Final Fit and Wear Check
Try the shoes on with the socks you intend to wear. Walk around and notice if there's any unusual pressure or if your heel slips—this means the shoe doesn't fit properly, which can increase water entry and cause blisters. Ensure the laces can be tightened evenly to hold the tongue securely against your ankle. Check that the shoes don't pinch or gape at the sides. If you plan to wear them in heavy rain, consider adding a thin, absorbent insole—but only if it fits without cramping. Also test the laces: if they are frayed or stretched, they won't hold the shoe snugly on a wet day, and water can seep through the lace holes. The fit check is your last line of defense—a well-fitted shoe also flexes less, reducing stress on the leather and seams. This step is about your comfort and the shoe's ability to keep water out, so don't skip it even if you've worn them before.
Quick Reference
| Situation | Action | Why it helps |
|---|---|---|
| Leather feels dry and stiff, with no visible cracks | Apply a high-quality leather conditioner first, allow it to soak in, then follow with a water repellent spray suitable for your leather type. | Conditioner restores oils so the leather stays flexible, and repellent then creates a barrier that prevents water from soaking in, keeping the leather soft and dry. |
| There are loose threads or small gaps at the stitching near the sole | Re-stitch or seal the gaps with a waterproof shoe glue or a wax thread, and apply a seam-sealer specifically for shoes if available. | Water enters through the smallest openings, and sealing seams prevents moisture from reaching the interior, protecting the shoe and your feet. |
| The sole tread is worn smooth and the shoe is slippery on wet tiles | Take the shoes to a cobbler for a new sole or a rubber grip pad, and clean the grooves thoroughly before applying any treatment. | Good tread is crucial for traction on wet surfaces; restoring it reduces slip risk and also keeps water from pooling in worn cracks. |
Common Issues
- Water spots or stains appear after the leather dries: Once dry, gently buff with a soft brush, then apply a leather cleaner and conditioner to the entire shoe, not just the spot, to even out the finish.
- Leather becomes cracked after repeated wetting: Moisturize with a rich leather conditioner regularly, and avoid drying near heat; if cracks are deep, use a color-matched leather filler and re-polish.
- Shoes develop a musty odor after being wet: Dry them fully, stuff them with newspaper to absorb moisture, and sprinkle baking soda inside overnight; then remove any moisture-trapping insoles and let them air out.
Advanced Tips
- For extra protection, apply a thin coat of waterproof wax over the seams after the repellent has dried, but do not overdo it as it can clog breaths.
- When you're not wearing them, keep your leather shoes in a well-ventilated area with cedar shoe trees to help them keep their shape and absorb internal moisture.
- In heavy rain, consider carrying a compact waterproof shoe cover in your bag for emergency use, but never rely on it for everyday wear.
Final Checklist
- Verify the leather surface is clean and free of debris, then condition it if it feels dry or rough.
- Inspect all seams and stitching is secure; seal any loose gaps with a waterproof seam sealer.
- Check the soles have adequate tread and are firmly attached; replace if excessively worn.
- Apply a suitable water repellent to the entire shoe, especially seams, and let it dry completely before wearing.
FAQ
How often should I apply water repellent to my leather shoes?
Reapply every few weeks or after heavy wear, especially if you notice water no longer beads up on the surface. When in doubt, perform a simple water spot test on a hidden area—if it soaks in, it's time for a new coat.
Can I use the same repellent for suede and smooth leather?
No, suede and nubuck require a spray specifically designed for their delicate textures, while smooth leather can use a wax or cream. Using the wrong product can darken or damage the material, so always read the label.
What should I do if my leather shoes get soaking wet?
Remove any insoles and dry the shoes at room temperature, away from direct heat. Stuff them with newspaper to absorb moisture, replace as needed, and allow at least 24 hours to dry completely before reapplying conditioner and repellent.