Choosing Everyday Sneakers For Walking And Errands Checklist For First Time Readers
A practical step-by-step guide to choosing everyday sneakers for walking and errands checklist for first-time readers, including preparation, instructions, common issues, tips, and next steps.
Choosing Everyday Sneakers For Walking And Errands Checklist For First Time Readers
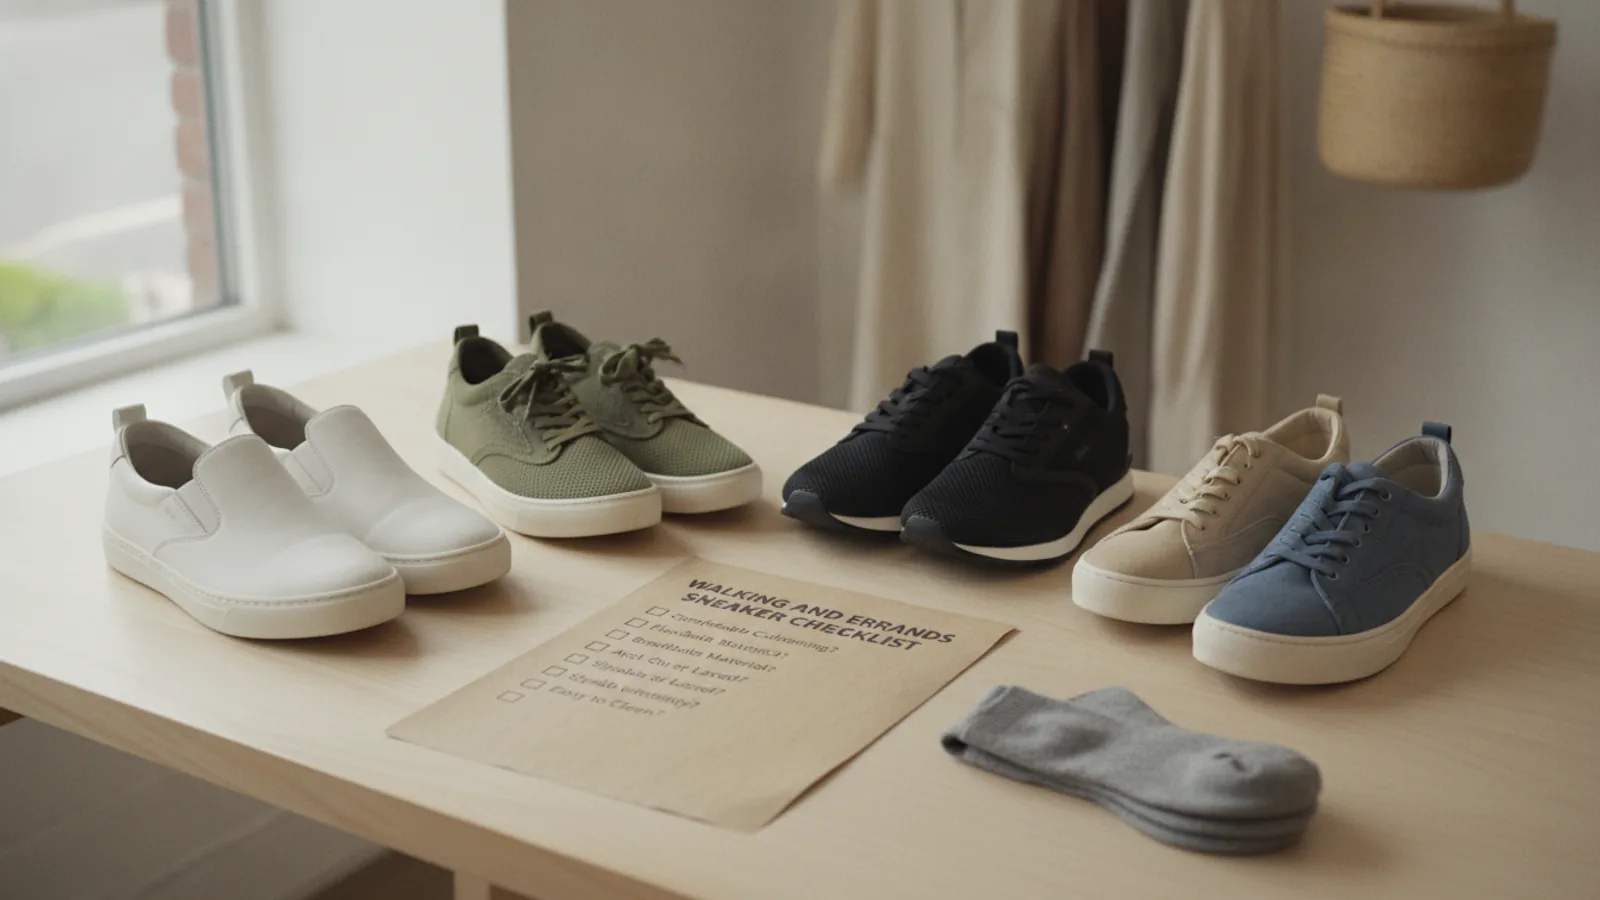
This guide helps first-time readers choose everyday sneakers for walking and errands without getting overwhelmed by marketing jargon. It covers how to assess your foot shape, match sneakers to your typical activities, and check for comfort features that prevent sore feet. You'll learn a simple step-by-step process to test sneakers before buying, plus quick tips for common issues like blisters or arch pain. The focus is on practical, affordable choices that suit casual daily use, not high-performance sports. By the end, you'll have a personal checklist to make future sneaker shopping easier and more comfortable.
Fast Answer
- Look for sneakers with a wide toe box, cushioned heel, and flexible sole; then test them by walking around the store for at least 10 minutes to ensure no pinching or slipping.
- Match your sneaker to your foot type: flat feet need arch support, high arches need cushioning, and neutral feet can choose a balanced shoe.
Before You Start
- Before shopping, trace your foot on paper to see its shape and check if you have a narrow, medium, or wide foot; this helps you pick the right width.
- Look at the soles of your old shoes: if they wear down more on the edges or center, that tells you how your foot rolls, which guides support needs.
- Think about where you'll walk most: sidewalks, uneven trails, or smooth floors, because tread grip matters more for outdoor use.
- Wear the same type of socks you usually wear with sneakers, and shop later in the day when feet are slightly swollen, to get a realistic fit.
Step-by-Step Instructions
Measure Your Feet at Home
Start by measuring both feet with a ruler or a shoe-size chart from a footwear site. Place a sheet of paper against a wall, stand on it with your heel touching the wall, and mark the longest toe. Measure the distance from the edge of the paper to that mark. Repeat for the other foot because one is often slightly larger. Compare your measurements to size charts, noting both length and width since widths vary from narrow to wide. This measurement gives you a baseline when trying on shoes, but don't rely on it alone—fit depends on brand and model. Use these numbers to narrow your choices and to avoid buying a size that feels too tight or loose. Checking your feet regularly is smart because they can change with age or weight changes, so don't assume you've always been the same size.
Know Your Arch Type
Your foot arch affects how your weight transfers and which sneakers will be comfortable. To find your arch, wet your foot and step on a paper bag or dark surface. If you see a solid footprint with little curve, you have flat feet and likely need arch support to prevent overpronation. If you see a narrow band with a deep curve, you have high arches and need extra cushioning to absorb impact. A normal print shows a noticeable but not extreme curve, meaning you can wear most neutral sneakers. Test both feet because your arches might differ slightly. This knowledge helps you filter sneakers with the right support level, avoiding pain in your heels or knees after long walks. If you're unsure, ask a salesperson to help you identify your arch or visit a shoe store that offers fitting services.
Check for Proper Toe Space
When you put on a sneaker, your toes should have room to wiggle without touching the front. Stand up and slide your foot forward so your toes gently hit the end; you should have about a thumb's width of space between your longest toe and the sneaker's tip. This extra space allows your feet to expand when walking downhill or after being on your feet all day, preventing black toenails and blisters. The toe box should be wide enough that your toes lie flat and spread naturally, not squeezed together. Test both the left and right shoes separately, and wear the same socks you plan to use. If the sneaker has a narrow toe box, look for a wide-width option or a different brand. Remember, a long distance walker's foot naturally slides forward, so this space is crucial for comfort.
Walk Around on Different Surfaces
Never judge a sneaker just by standing still. Walk around the store on tile, carpet, and any other flooring they have for at least ten minutes. Pay attention to how your heel stays locked in place—it should not slip up and down as you walk, as that causes friction and blisters. Your foot should not slide sideways either. Try walking briskly, taking long strides, and even going up stairs if available. Notice any rubbing points on your toes, sides, or back of your heel. If a sneaker feels fine in the aisle but starts to pinch after a few minutes, ask for a larger size or a different model. Many stores have a return policy that lets you test sneakers at home, so consider buying and then walking on carpet while keeping the tags on. The goal is to simulate your daily walks and errands, so you feel confident the shoe will be comfortable for hours.
Evaluate Cushioning and Flexibility
Press down on the insole and the heel to gauge cushioning—too firm can feel like walking on concrete, while too soft may cause instability. Grip the middle of the sneaker and twist it; it should bend but spring back rather than folding limply. Look for a sole that flexes near the ball of your foot, not in the arch, as that matches natural foot movement. Heel cushioning is especially important for absorbing impact on hard sidewalks. Jump or bounce on the balls of your feet to see if the shoe responds with enough shock absorption without feeling mushy. Flex the shoe in your hands to check that the outsole has a slight give; a completely rigid sneaker can lead to shin splints. If you have knee or back pain, choose a sneaker with extra heel cushioning, but ensure the midsole feels supportive, not overly squishy.
Do a Final Fit and Support Check
After narrowing your options to one or two pairs, do a final check by lacing them properly and walking again. Ensure the laces hold your heel snugly without cinching too tightly around your instep. Your heel should feel fully seated in the back, and your toes should have space to spread. Look at the sneaker from behind: the heel counter (the stiff plastic inside the heel) should feel firm but not digging into your Achilles tendon. Press your thumb against the top of the toe box to confirm there's space above your toes. Stand on tiptoes and then sit down to see if the shoe flexes naturally at the ball. Also, check the insole—if you have orthotics or custom insoles, remove the original to see if it's replaceable. Take your time, because walking on errands can add up to several miles, and a well-fitted sneaker prevents plantar fasciitis and other foot problems.
Quick Reference
| Situation | Action | Why it helps |
|---|---|---|
| Your heels slip when you walk in a new sneaker. | Lace the sneaker using the top eyelet and make sure the laces are snug without being too tight; if the heel still slips, try a half-size down or a narrower width. | Heel slipping causes blisters and makes your foot slide forward, so fixing it is crucial for comfort on long walks. |
| Your little toe feels numb or sore after wearing sneakers for an hour. | Switch to a wider toe box or a larger size, and ensure the lace pressure isn't too tight over the top of your foot, which can compress nerves. | A narrow or short toe box squeezes nerves and can lead to chronic foot pain, so adjusting size or width is essential. |
| You have flat feet and your arches ache after a day of errands. | Choose sneakers with firm arch support or try a pair of over-the-counter arch-support insoles to place inside your sneakers. | Flat feet need extra support to align your body and prevent overpronation, which reduces arch and heel pain. |
Common Issues
- Blister formation on the back of the heel or toes.: Wear seamless socks, apply antiseptic ointment and a blister pad, and re-wrap the area with a protective bandage to keep the blister clean until it heals on its own.
- Arch pain after walking in your new sneakers.: Switch to sneakers with sufficient arch support, or add over-the-counter arch-support insoles, and gradually increase your walking time so your feet adjust.
- Sneakers feel uncomfortable after standing all day.: Rotate between two pairs of sneakers daily, and choose models with soft but responsive midsoles, plus replace them every 300-500 miles of walking.
Advanced Tips
- If you have narrow heels and a wide toe area, look for sneakers with a 'sleeve' or 'collar' that hugs the heel, or use a lace-lock technique to keep your heel secure.
- Consider buying two half-size options and testing them on a long walk at home, keeping the tags, to see which one truly fits before committing.
- When searching for used or discounted sneakers, ask about the outsole wear pattern to understand how the previous owner's gait might have changed the shoe's support.
Final Checklist
- Measure both feet and know your arch type before you shop, so you can filter options quickly.
- Test sneakers in the late afternoon, walking on different surfaces for at least 10 minutes to feel real comfort.
- Verify a thumb's width of toe space and that your heel stays locked with no slipping when you walk.
- Decide if you need extra arch support or orthotics, and ensure the sneaker allows them.
FAQ
How often should I replace my everyday sneakers?
Typically replace sneakers after 300 to 500 miles of walking, or when the outsole shows uneven wear or you feel a loss of cushioning. If you walk about 30 minutes daily, that might be every six months to a year. Check for creases in the midsole that feel flat, and always swap when the support feels noticeably less.
Can I use running shoes for walking errands?
Yes, running shoes can work for walking, but they are often more cushioned and rigid than walking shoes, which may throw off your stride. Look for a shoe labeled 'walking' or 'cross-training' if you do more standing than running. Your foot's roll and flexibility are different when walking, so test whether the shoe bends at the right place.
What if one foot is slightly larger than the other?
Buy sneakers that fit your larger foot, and for the smaller foot, use an extra insole or heel grip to make it snug. Many people have one foot bigger by up to half a size, which is normal. Never buy a larger size to accommodate the larger foot only to have the smaller foot slip; instead, adjust the shoe for the smaller foot with insoles.